
Spyder has released version 5 of Spyder IDE and it comes with its own set of packages. If you want to use other packages than pre-installed packages, following set of instructions may be helpful to you.
Step-1: Add path of Python installation to PYTHONPATH manager of Spyder
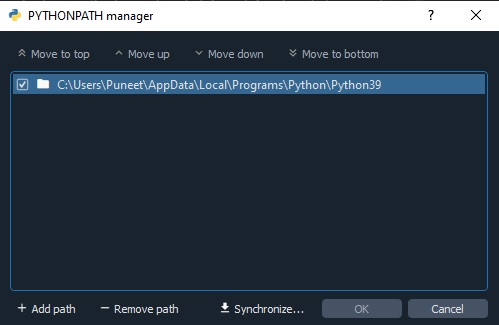
Go to Tools –> PYTHONPATH MANAGER –> Add the Python Installation Path as shown below:
To find python installation directory on Windows 10, you may use the following method:
(a). Go to search bar and type “Python” (provided you have python installed on your system) and go to the file location of Python application file.
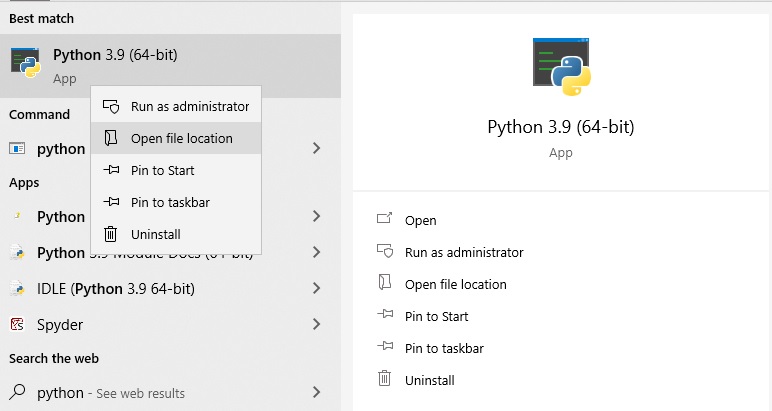
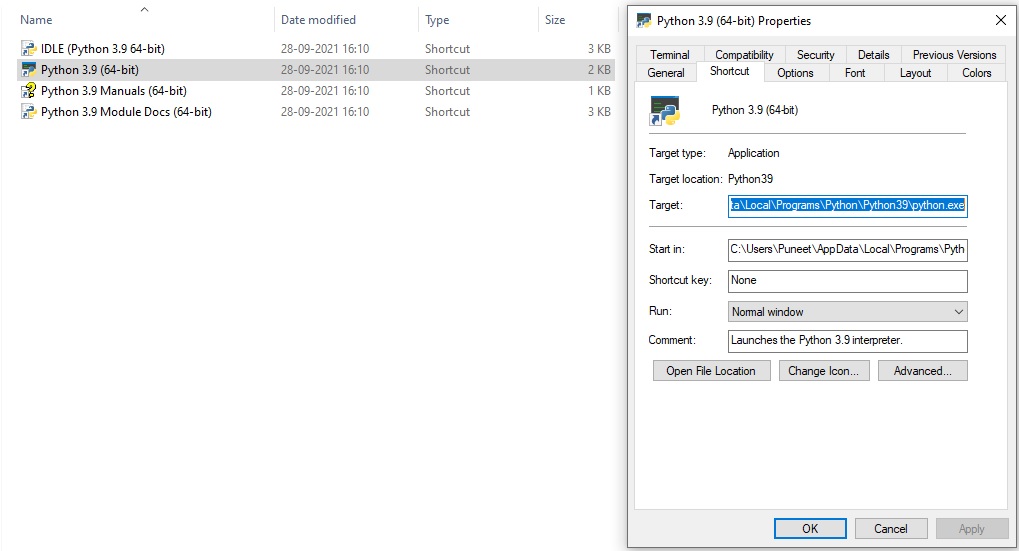
(b). Open file location and go to properties of Python application, entry in the target tab shows the installation directory of Python interpreter.
Step 2: Change Spyder’s default Python interpreter
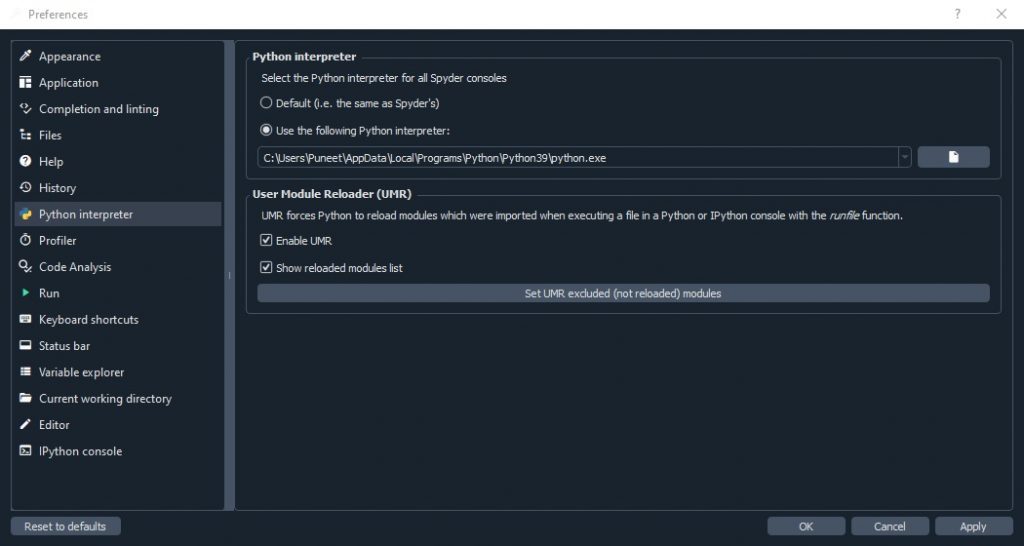
Open Spyder IDE and go to Tools –> Preferences –> Python Interpreter –> Select “use the following Python interpreter” –> add python.exe path –> apply
Step 3: Install spyder-kernels
Spyder requires a supported version of the spyder-kernels package to be present in the working environment you want to run your console in. If this package is not installed, you will see the following error message:
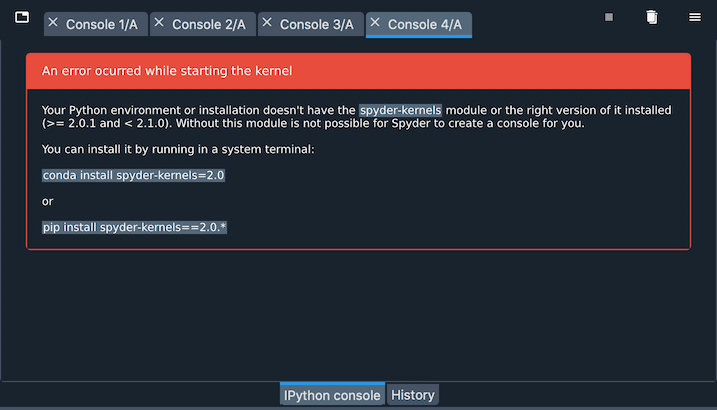
To install spyder-kernels, open command prompt and type the command suggested in error message.

Restart Spyder application to implement the changes. After performing these step, i think you are ready to go.
I hope someone will find it useful, Thanks for reading 🙂
Dear Puneet,
this worked well for me, thank you for taking the time to write down your process!
An additional note, I was installing modules in the Scripts folder of the python directory, so the path did not work. Once I moved package files (pip etc) into the root directory (alongside the python.exe) then it worked.
Thanks